
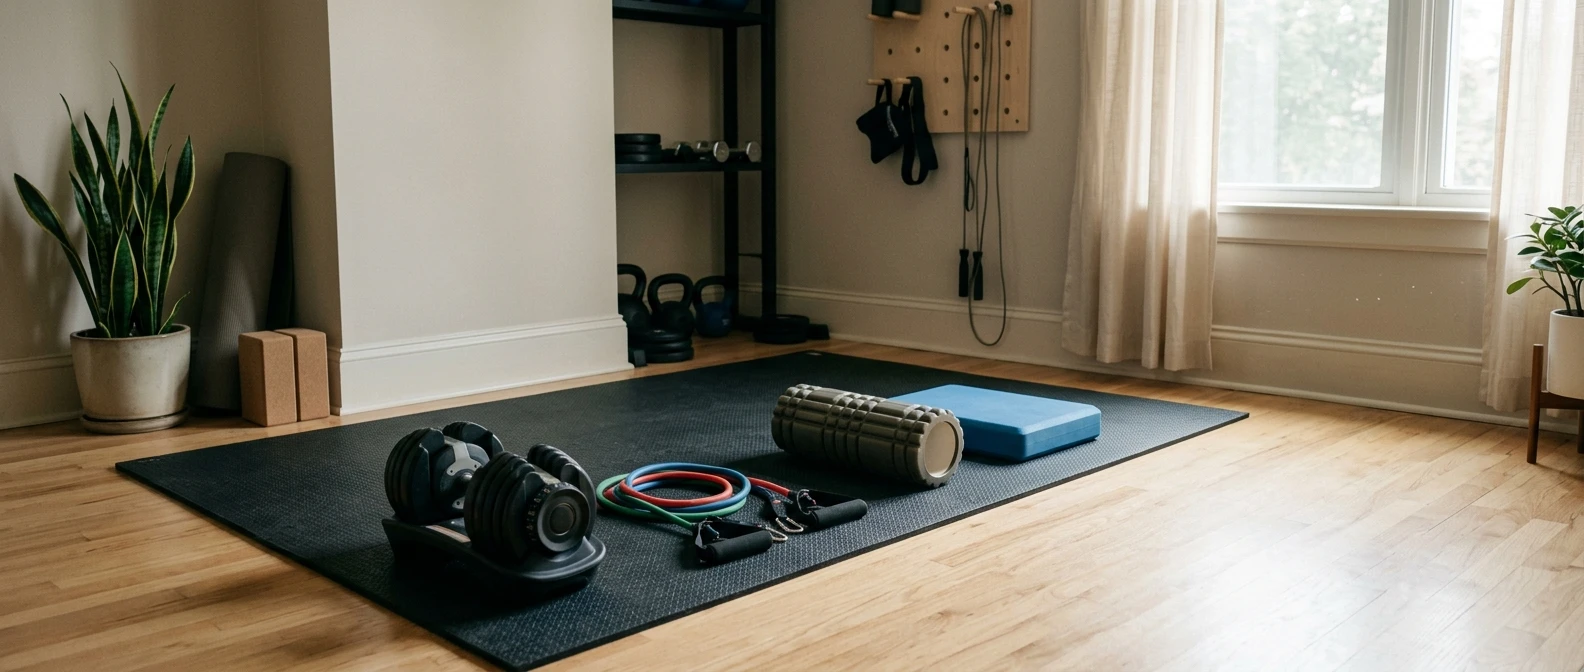
Standard gym equipment is designed for the average young adult, and that design shows up in ways that matter once you’re past 50. A barbell with a straight, thin bar puts the wrists in a fixed position that aggravates arthritis. A flat bench with no back support forces the shoulders through a range they may not have anymore. Machines built for a 25-year-old’s proportions often seat you wrong, so the joint doesn’t track where the machine assumes it will.
None of this means strength training is risky after 50. It means the equipment needs to fit the joints you actually have, not the joints a product designer assumed everyone has. This guide covers what to look for, category by category, so you can build a home gym that supports your hands, wrists, shoulders, back and knees instead of working against them. It’s a buying guide, not a workout plan: once your equipment is sorted, you’ll want a program to put it to use, and we’ll point you to one at the end.
Why standard gym equipment can wreck aging joints
Cartilage thins with age, tendons lose some of their elasticity, and grip strength tends to decline unless it’s specifically trained. None of that means you should stop lifting. It means the equipment’s job is to let you load the muscle without forcing the joint into a position it can’t tolerate.
Three problems show up again and again in standard gear:
- Thin, hard handles that concentrate load into a small area of the palm, which aggravates arthritic hands and weakening grip strength.
- Fixed bars and handles that lock the wrist, elbow and shoulder into one rotation path, regardless of what your joints actually need.
- No adjustability, so you either use a weight that’s too heavy to control safely or skip the movement altogether.
The fix isn’t lighter weight. It’s equipment that lets the joint move through a path it can tolerate, at a resistance you can increase gradually. That’s the filter to run every purchase through.
Adjustable dumbbells and how grip and handle design matter more after 50
Adjustable dumbbells are the backbone of most home gyms because they let you progress in small increments instead of jumping from one fixed weight to the next. For joints that need gradual loading, that matters more than it sounds like it should. A 5-pound jump between fixed dumbbells can be the difference between a controlled set and a strained elbow.
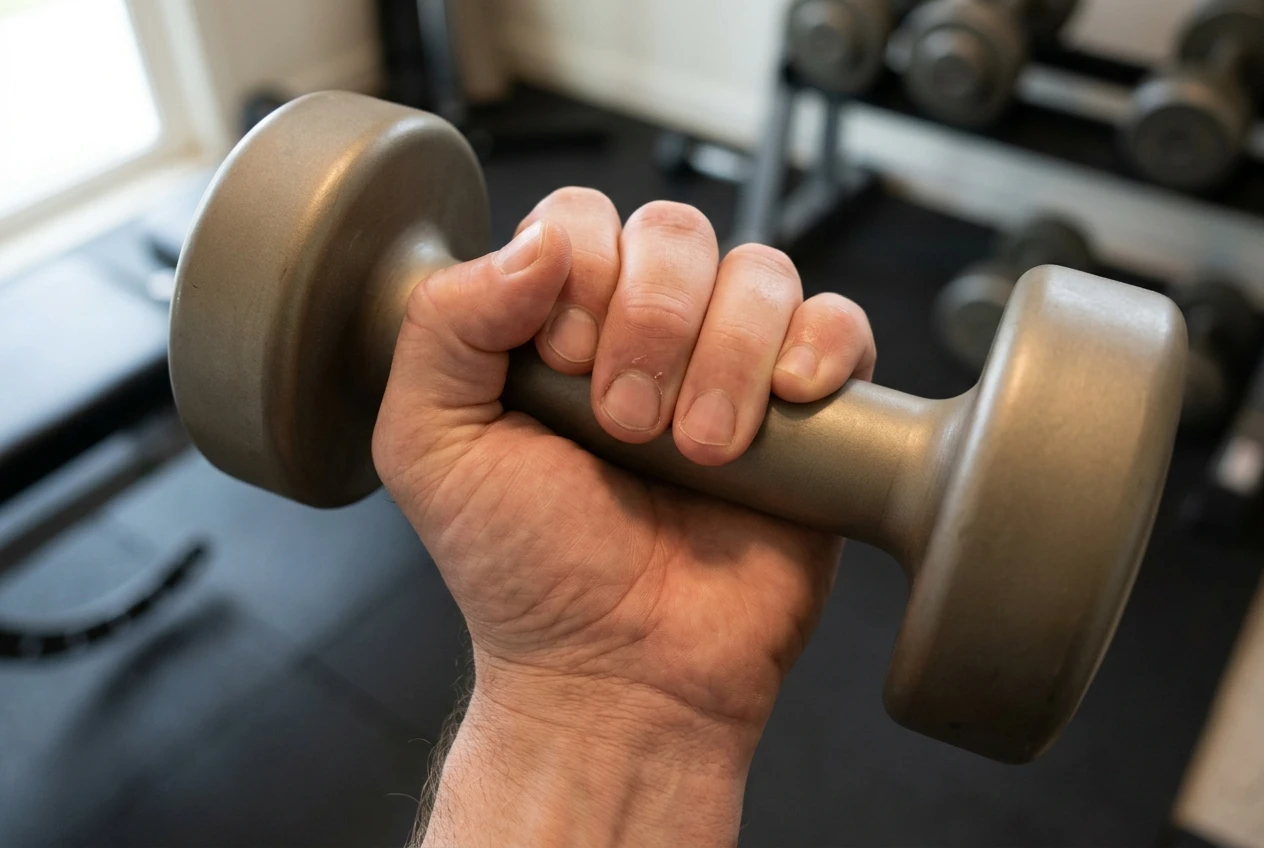
What to check before buying:
- Handle diameter. A thicker handle spreads load across more of the palm and reduces strain on arthritic finger joints, but too thick and you can’t close your hand around it securely. Hold the handle in the store if you can, or check the diameter against a dumbbell you already use comfortably.
- Handle texture. Knurling that’s too aggressive can be uncomfortable on thin or sensitive skin. A smooth or lightly textured grip is often more comfortable for daily use, though it shouldn’t be so smooth that the weight slips during a sweaty set.
- Weight-change mechanism. Dial systems and pin systems both work, but dial systems let you change weight without bending down to fish out plates, which matters if a kneeling position isn’t comfortable for your knees.
- Shape at rest. A hex or square-ish end stops the dumbbell from rolling away on the floor, which matters when picking it back up means bending over.
If grip strength is a specific concern, pair your dumbbells with a simple hand gripper or putty for separate grip work. Grip tends to be a limiting factor in pulling exercises long before the back or shoulder muscles give out, so training it directly pays off across everything else you do.
Resistance bands and cable systems for joint-friendly strength work
Bands and cables load a muscle without the sudden jolt of a free weight hitting the bottom of a rep. That smoother resistance curve is one of the most underrated joint-friendly features available, and it’s worth building part of your home gym around.
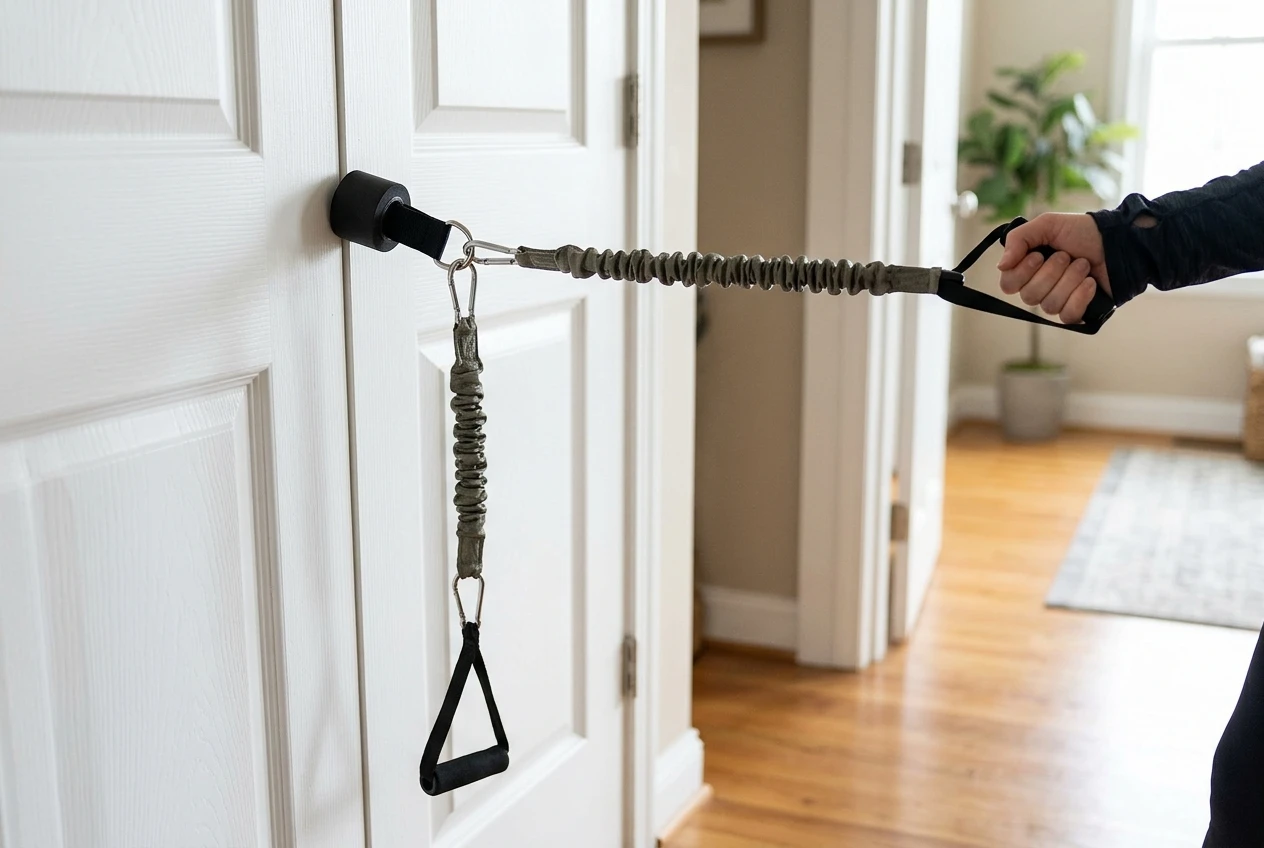
With a free weight, the resistance is constant regardless of where you are in the movement, and gravity does what gravity does, including at the bottom of a rep where many joints are most vulnerable. A band or cable, by contrast, increases resistance as you stretch it and eases off as you return, which is gentler on tendons and ligaments at the end ranges of a movement.
Look for:
- Bands with fabric or looped-handle construction over cheap latex tubing, which tends to pinch skin and lose elasticity faster.
- A door anchor or wall-mounted anchor point so you can perform pulling movements, like rows, which are essential for shoulder and upper-back health but hard to replicate with dumbbells alone.
- A set with a true range of resistance levels, not just two or three, so you can make small jumps as you get stronger rather than big leaps that strain a joint before the muscle is ready.
A compact cable machine, sometimes called a functional trainer, is a bigger investment but gives you adjustable pulley heights and a smoother resistance curve than bands, with the durability to handle years of use. If floor space and budget allow for one larger piece of equipment, this is a strong candidate because of how many exercises and joint angles it can cover.
Low-impact cardio machines worth the floor space
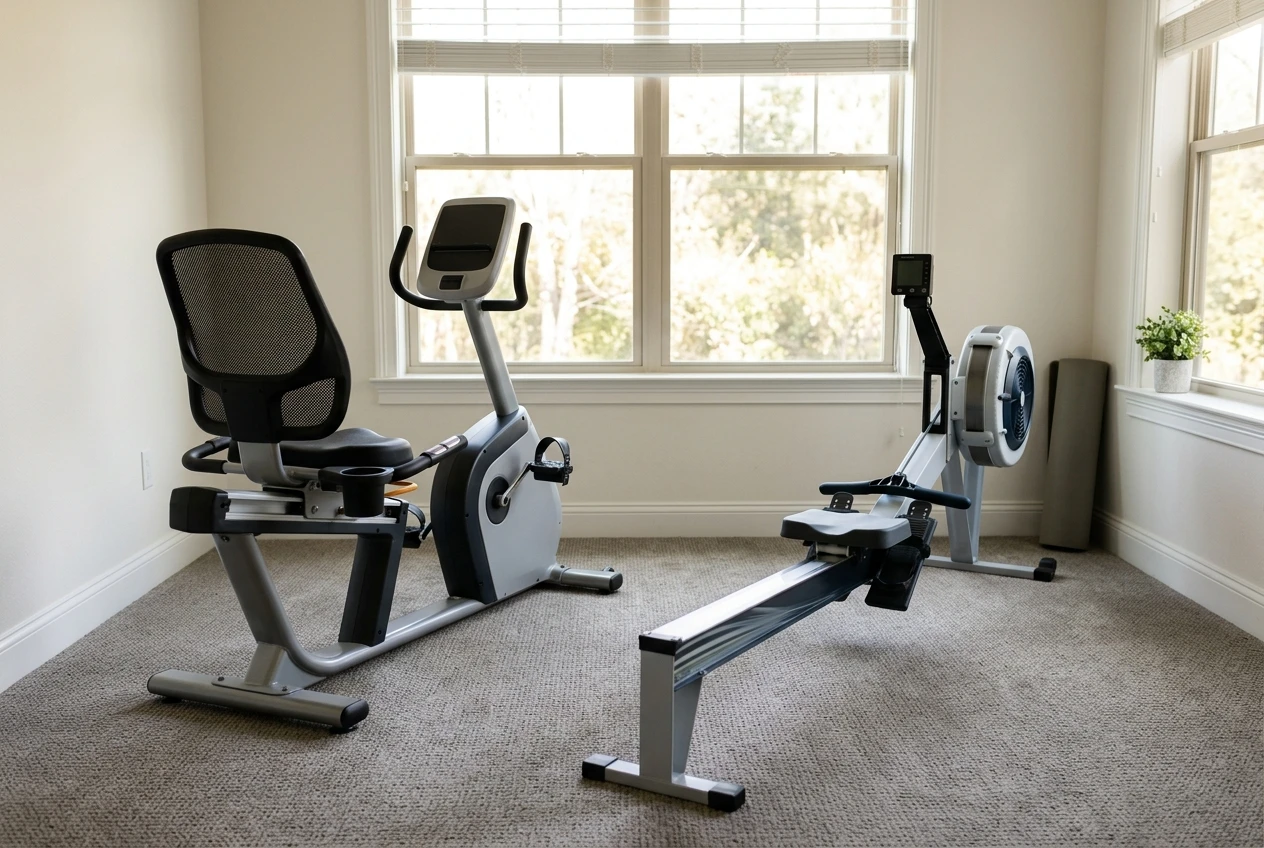
Cardio matters for the heart, the lungs and metabolic health, but the impact from running on pavement or a hard treadmill belt adds up on hips, knees and lower backs over time. The goal is to find a machine that gets the heart rate up without the pounding.
- Rowing machines work the legs, back and arms together and the resistance is self-paced, so there’s no fixed cadence forcing a joint to move faster than it’s ready to. The seated, sliding motion also keeps impact off the knees entirely.
- Recumbent bikes support the lower back with a reclined seat and keep the knees moving through a smooth, controlled arc. They’re a good option if an upright bike or standard cardio machine has ever aggravated a lower back.
- Ellipticals combine a walking motion with no ground impact, which is useful if you want something that feels more like natural movement than a bike or rower does.
- Treadmills, if you want one, are worth buying with a cushioned deck rather than a hard one, and used at a walking pace or modest incline rather than for running, if joint protection is the priority.
None of these needs to be top of the line. A mid-range machine with a smooth, quiet motor and a comfortable seat or belt will serve you better long-term than a premium machine you find uncomfortable to use regularly.
Stability and mobility tools that help prevent falls
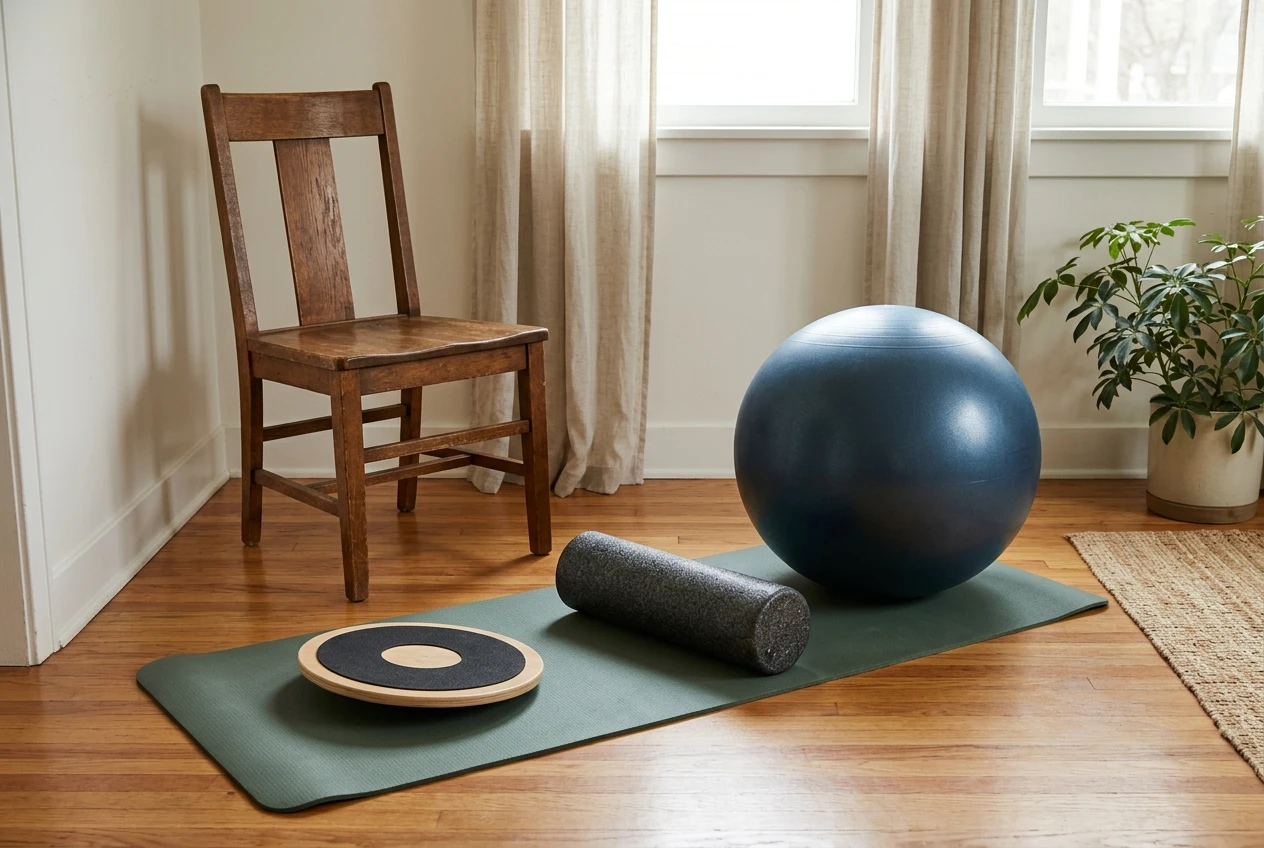
Strength training gets most of the attention, but the equipment that protects you from a fall is just as important for staying independent and active. Balance tends to decline gradually with age unless it’s specifically trained, and by the time a fall happens, the cost is often much higher than the time it would have taken to prevent it.
- A stability ball challenges balance during simple seated exercises and can be used for controlled core work without putting compressive load on the spine.
- A wobble board or balance pad trains the small stabilising muscles around the ankle and knee, which are the ones that catch you when you stumble.
- A foam roller helps with mobility work and muscle recovery, particularly around tight hips and shoulders, which indirectly protects joints by letting them move through their full range rather than compensating with poor form.
- A sturdy chair or stable surface positioned near your workout area, used for support during single-leg balance work. This costs nothing extra if you already own a solid chair, and it’s one of the most practical fall-prevention tools in the whole list.
None of these need to be expensive and most take up very little space. A $20 balance pad used consistently does more for fall prevention than an expensive piece of cardio equipment that sits unused.
Smart picks for small spaces and tighter budgets
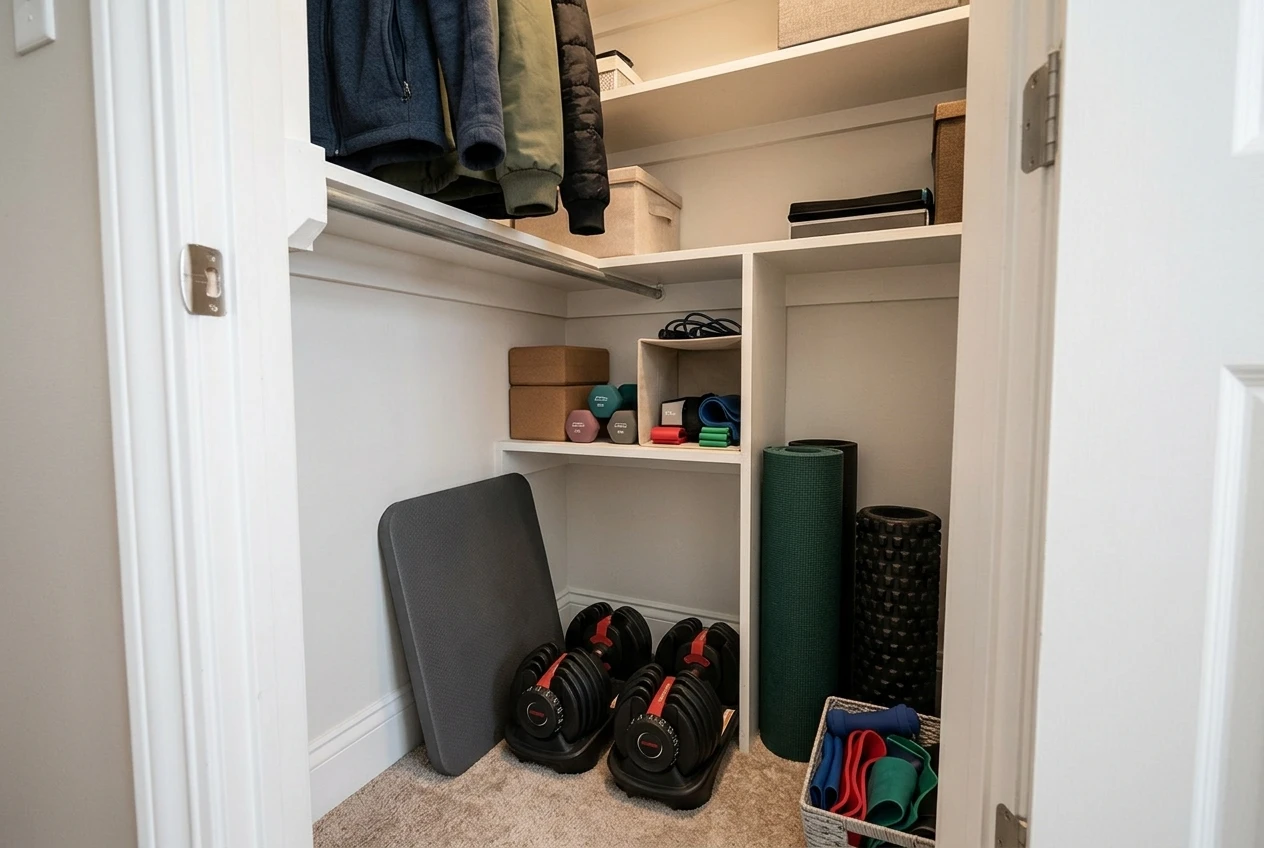
A joint-friendly home gym does not require a spare room. The equipment that matters most for joint protection is also, conveniently, some of the most compact and affordable gear available.
A sensible starting set:
- One pair of adjustable dumbbells with a comfortable handle
- A set of resistance bands with a door anchor
- A balance pad or wobble board
- A foam roller
- A yoga mat for floor-based mobility and core work
That’s a complete joint-friendly strength and stability setup that fits in a closet corner, for a fraction of the cost of a large cardio machine. If budget allows for one bigger piece later, a rowing machine or recumbent bike is a reasonable next purchase, chosen based on which movement pattern, pulling and sliding versus pedalling, feels better on your particular joints.
Resist the urge to buy everything at once. Start with the basics, use them consistently for a few weeks, and let your own body tell you where a gap exists. If your shoulders feel tight after pressing work, that’s the signal to add the foam roller work or a band for shoulder mobility. If your grip fatigues before your back does on pulling exercises, that’s the signal to add a gripper. Equipment decisions made in response to what your body is actually telling you tend to be better than ones made from a generic list.
Putting together a simple, safe home gym setup
The equipment on this list works because it respects what aging joints actually need: gradual load increases, smooth resistance curves, comfortable grip surfaces, and tools that train balance as deliberately as they train strength. None of it is exotic or expensive, and most of it fits in a small space.
What it doesn’t do is tell you how to use it. The right dumbbells and bands still need a sensible structure behind them, with the right exercises, the right order, and the right rest between sessions so your joints get time to adapt rather than get overloaded.
Once your equipment is sorted, pair it with the 3-day, 30-minute plan in How To Build Muscle After 50: The 3-Day, 30-Minute Plan to put it to use.